
[EDIT: Didn't work well at all. Formatting this post was a MESS. Does anyone have a good iOS blogging app recommendation?]
A couple of weeks ago, I went to California to visit friends and see their new home in Santa Barbara. After spending a very pleasant long weekend there, I knew just what I wanted to make for them as a thank you/housewarming present before I was even on the plane home.

 After I've got something I like there, I start pasting elements from Ill into Wilcom Designer. And that's when the tweaking begins. The often very...very extensive tweaking. In the second image, you can see the splines for all of the objects. It's important not only to get the shapes right, but they need to be appropriate for stitching, which has a much lower resolution than you'd see on screen. Very fine details are difficult to reproduce and may need to be adjusted or discarded entirely. Next, choose stitch types (mostly either satin or tatami) and density, and order. You want to minimize jumps, because you're just going to have to go back and trim them all out anyway. This design software has a lot of advanced features -- much more advanced than I am! -- including what's called "branching," which essentially combines certain stitch objects for efficiency. The blue image is the 3D preview of the finished design.
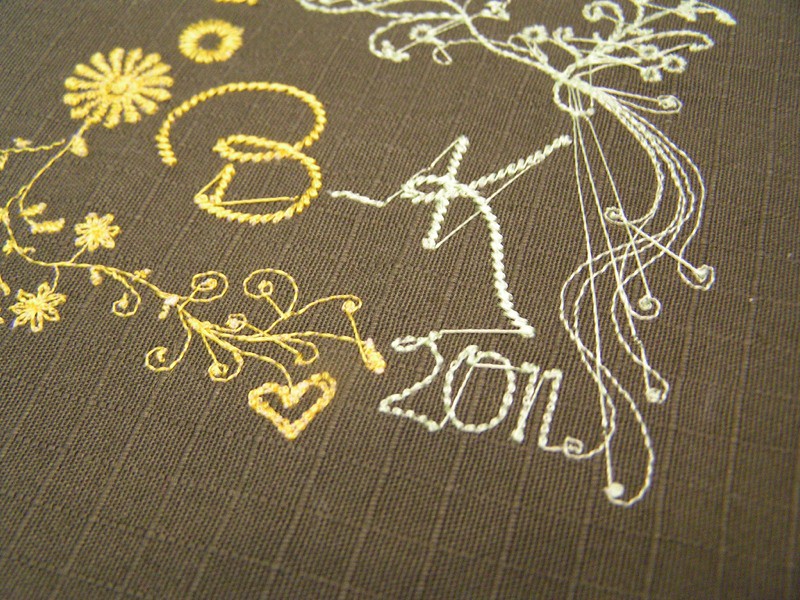
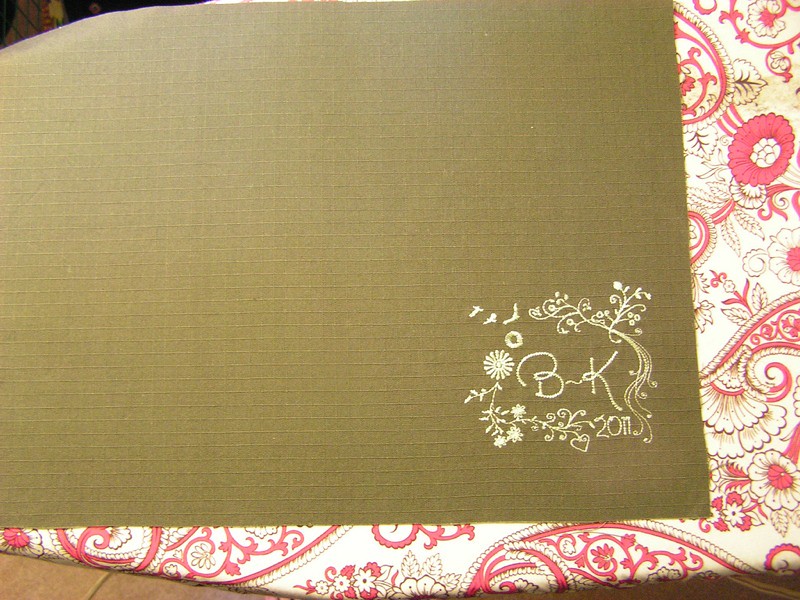
Next come the stitching tests. It's going to be pretty rare that something stitches out satisfactorily the first time, so be prepared with some extra fabric. The fabric I chose for the placemat tops was a deep olive green ripstop of a sort, with a grid sewn into it. This appealed to the precision-craziness within me. I chose two different threads, unsure which color I'd prefer. I have a love of combining orange and green, but I also found this pretty, soft, minty pastel thread that I needed to give a try. One of my final stitch out tests was a color comparison. I went with the green.
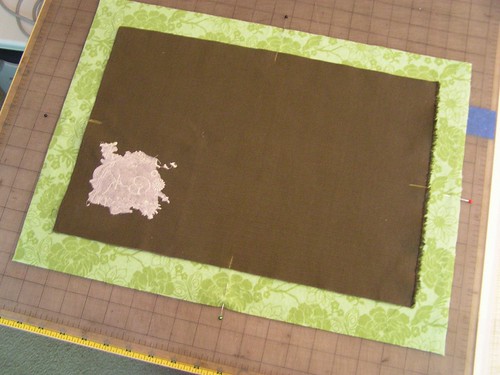
With the design conversion finalized, I cut the tops and embroidered the design in place on each one. I decided the finished placemats were going to be 12"x16" with a .5" border on each side. That means the tops were cut at 11"x15" (plus seam allowances) and the backs -- a pretty quilting flannel in springy greens -- were cut at 13"x17" (plus seam allowances). The extra size on the back piece wraps around the front to make the border. I'm going to show you how that happens.
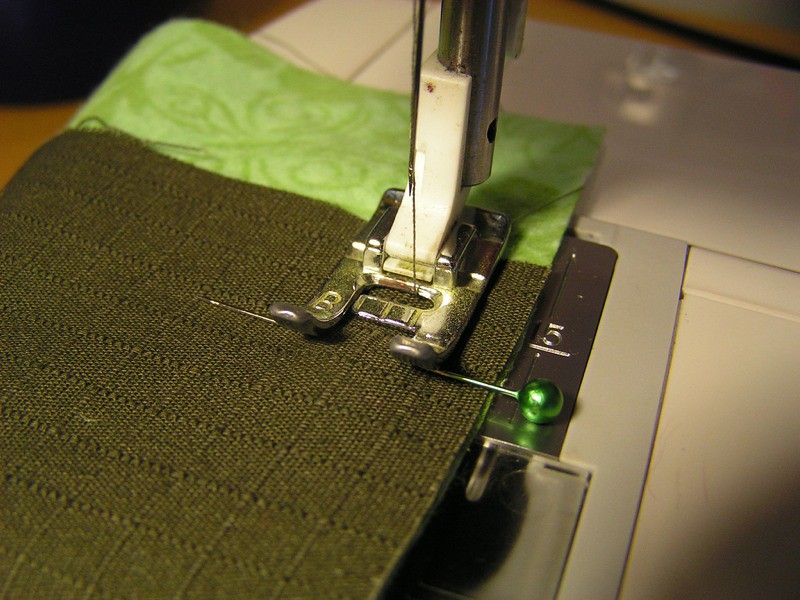
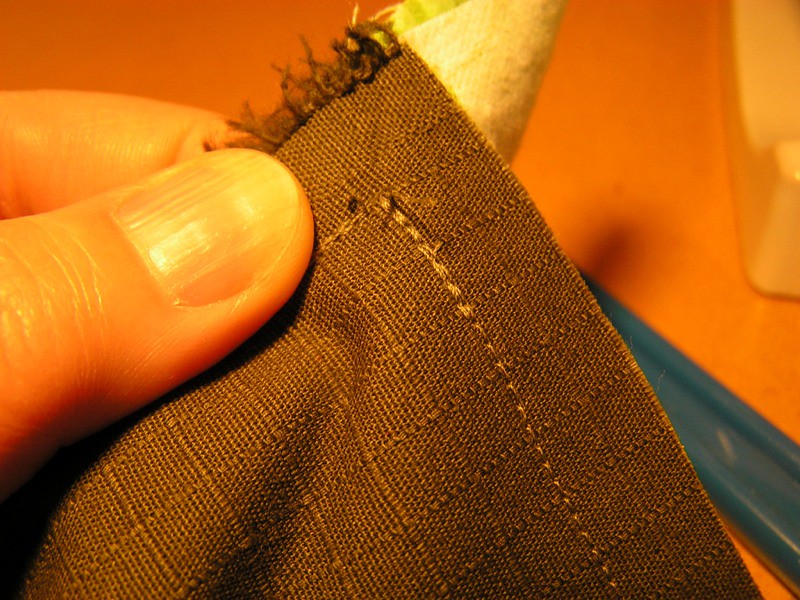
When you sew that edge, start at the seam allowance distance from each edge. In my case, .25" matched up with the grid, so I was .25" from each edge of the dark green top. Then when you get to the other side, once again stop at the seam allowance.
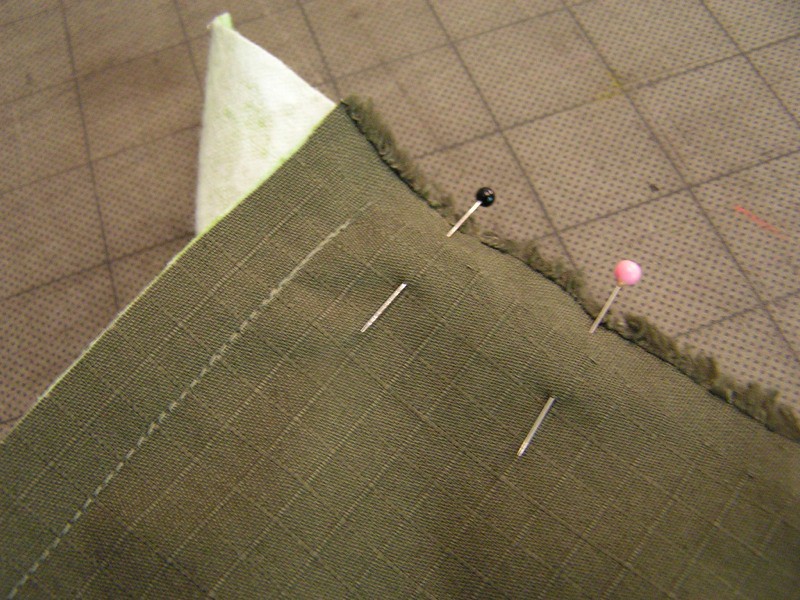
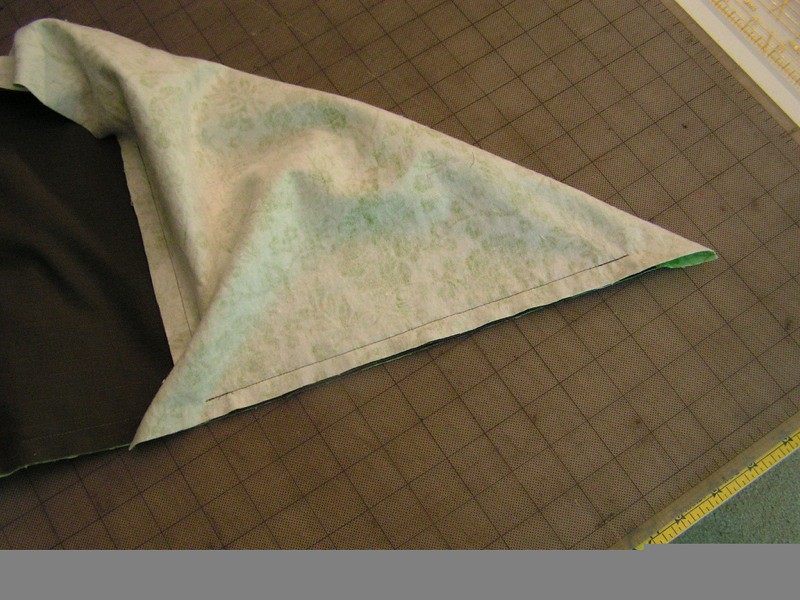
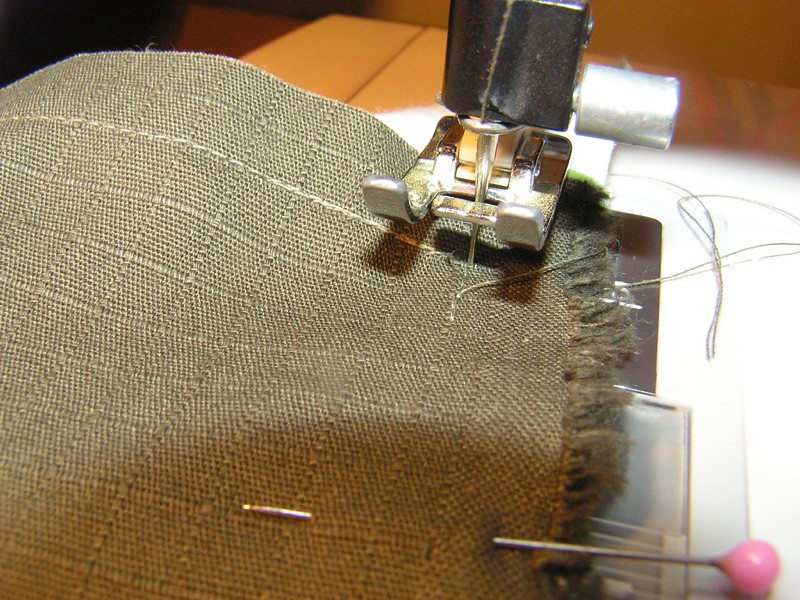 Then move to an adjoining side and do the same thing -- match the centers and the raw edge. It's going to leave extra at the corner, which it's supposed to. When you're lining up the edges, just be careful to smooth the backing out so you don't wind up stitching through that extra corner piece. Start where the stitching on the other side left off, and stitch down to -.25" (seam allowance) of that edge.
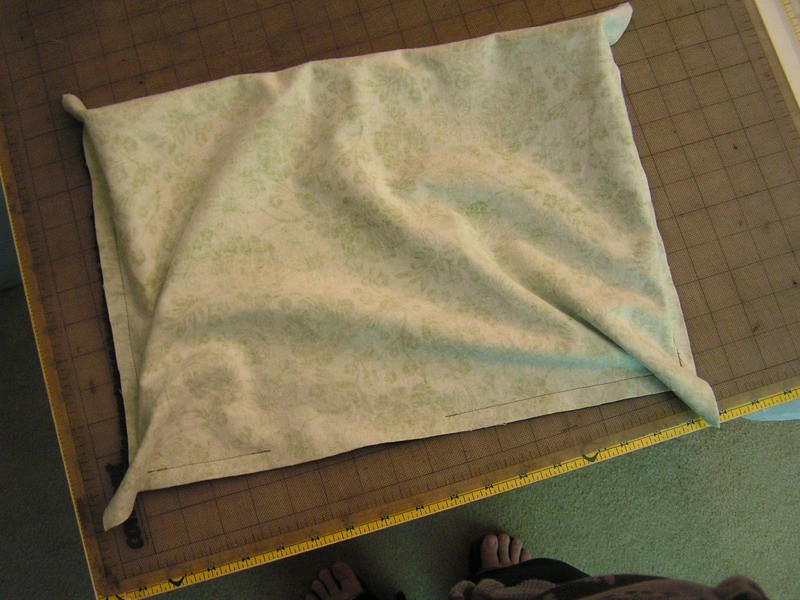
Do this on all four edges, making sure to leave a gap on one side to turn the piece through. Now, when it's all done, it's going to look like a mess until you turn it around. See? A mess. That's okay, trust me.
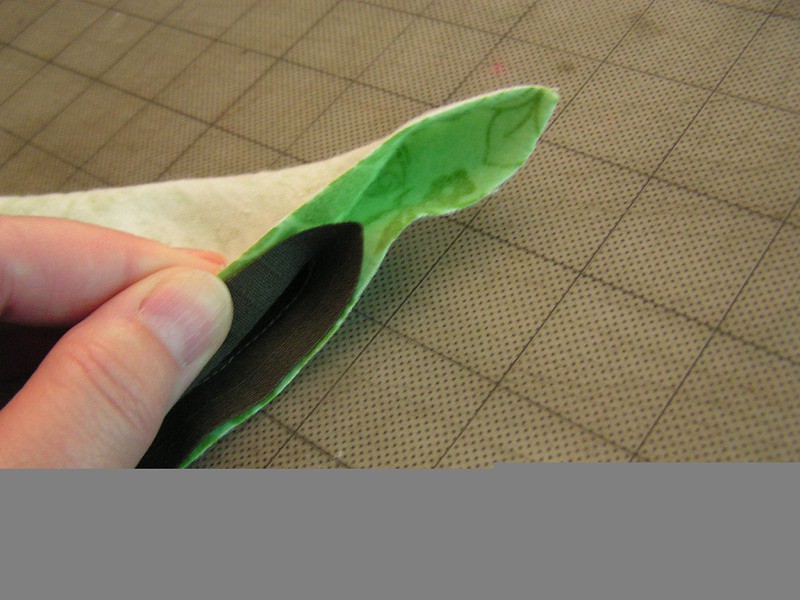
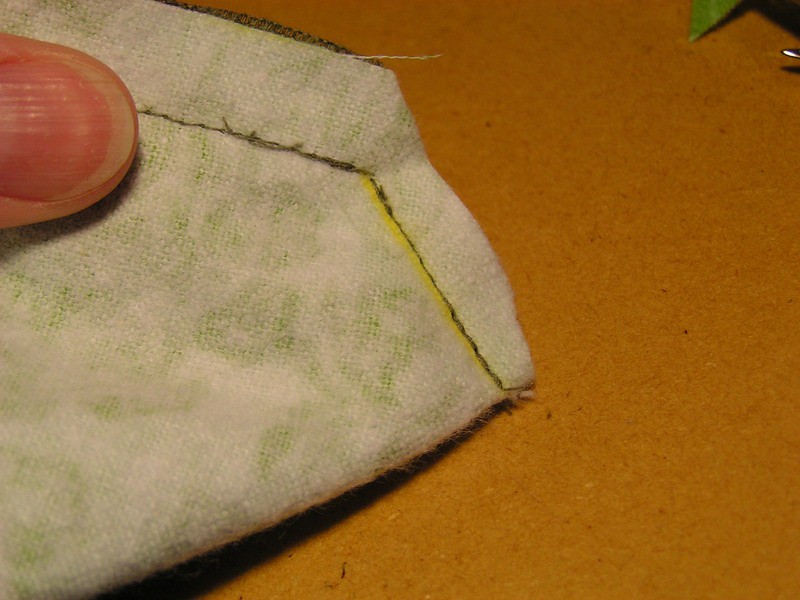
You're going to mitre the corners now. This is the only "tricky" part and it's not really tricky.
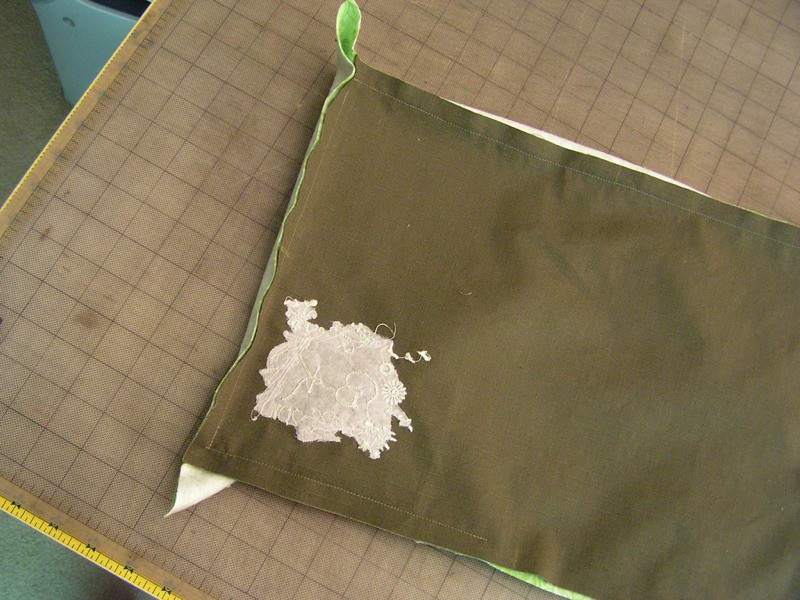


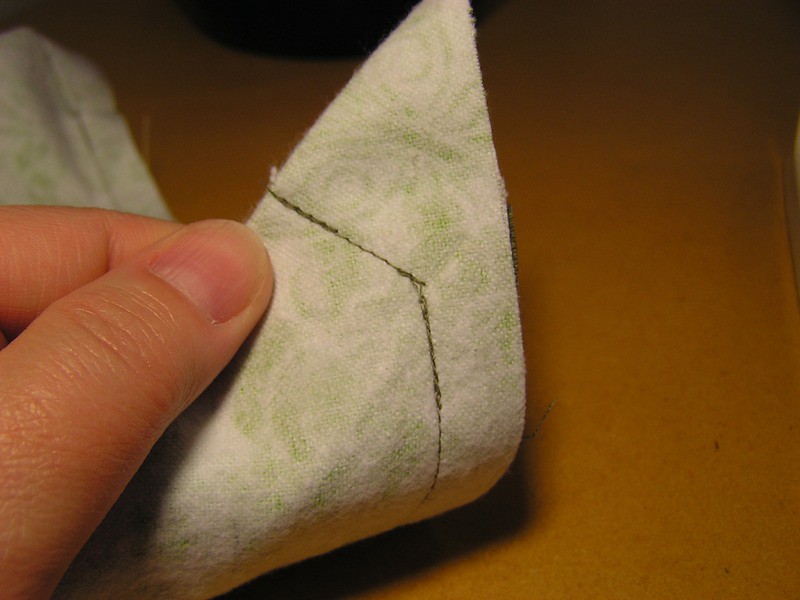
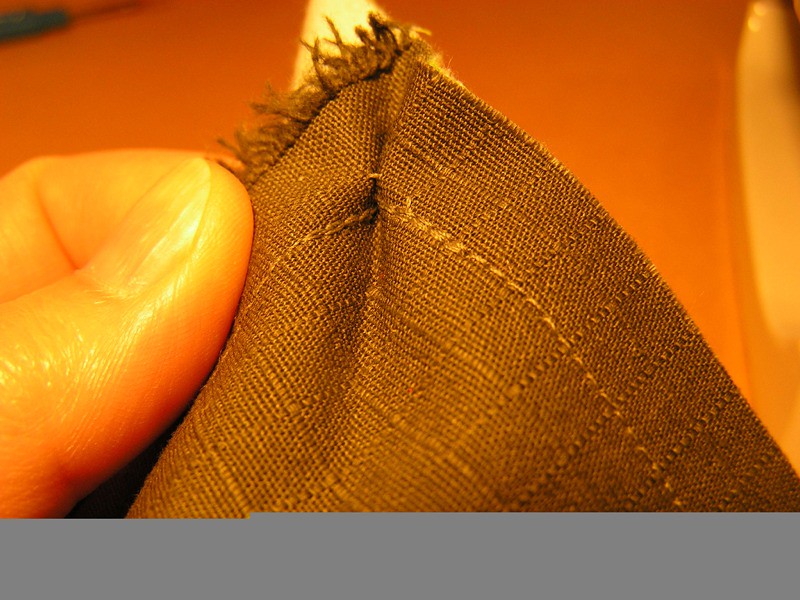
Do that four times, all the way 'round, and that's it, your corners be mitred. Go ahead and trim the extra fabric from the corners
 Now you turn the piece around through the gap you left on one edge, and smooth everything out again. I use the blunter end of a chopstick to turn the corners. Be careful because if you stress the fabric too much, you may wind up popping the seam. Because I'm using flannel, the corners don't have to be super crisp, because...flannel just doesn't behave that way. Smooth and adjust, smooth and adjust... You should feel the edges and the corners resolving themselves to the limits of the stitching. And now you press. When you get to the edge with the gap in it, make sure you fold the opening to look even with the rest of the sewn seam.
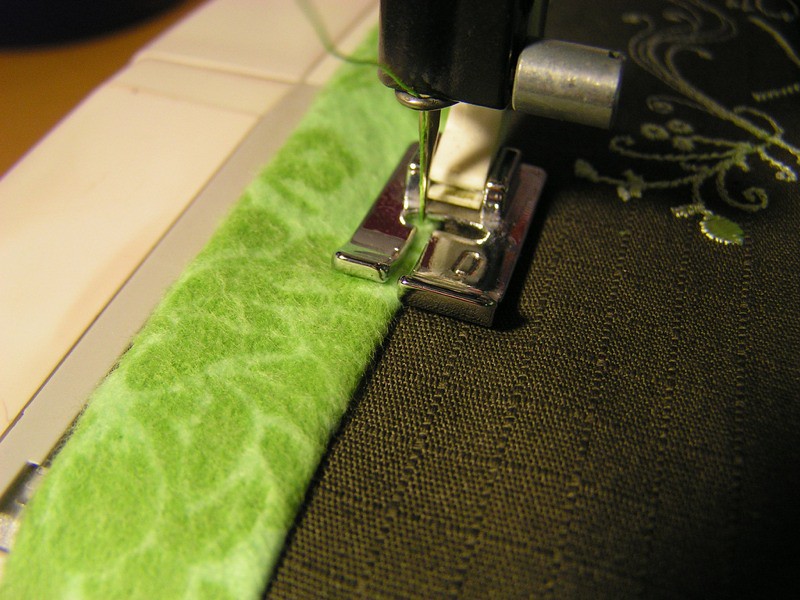 Then top stitch on the border side. Makes everything tighter and closes up that turning gap.
 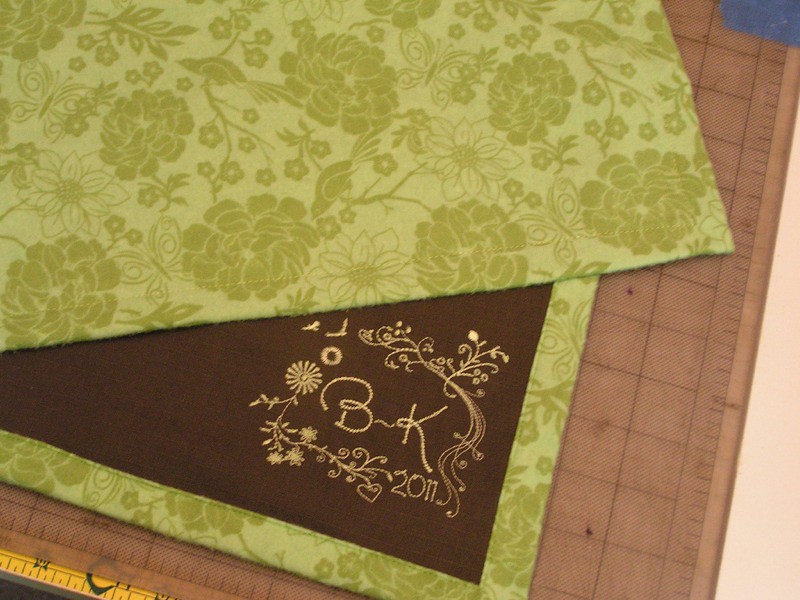 That's it! I made a total of six, mostly over a weekend. Stitching the embroidery took the longest time, so I did that bit by bit during the week. I also washed all the fabrics first so that they'll be usable/washable placemats.